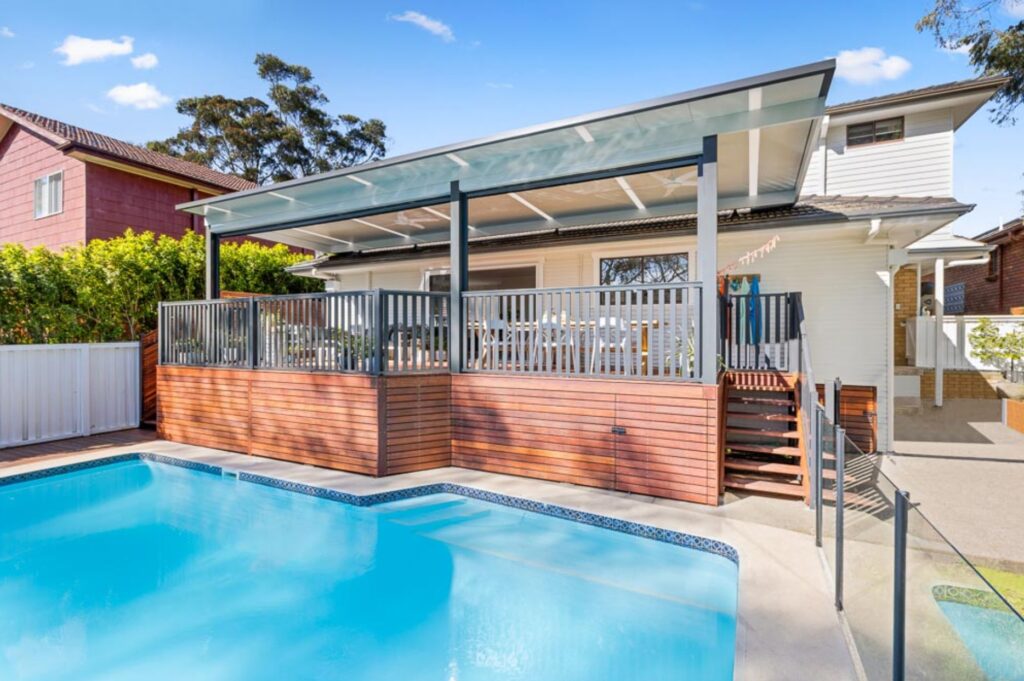
How we created the most used room in the house
A pool in the backyard is a great asset to have especially when you have a couple of young kids – a perfect spot during Summer to bring their school friends over so they can wear themselves out.
But for Emily & Andy, the pool wasn’t being used & the area was simply being neglected. They needed a way to connect the home to the pool area & create an alfresco outdoor living space.
See how we made the process clear & easy for them to be able to see the finish line.
To create a backyard deck & patio cover area that created the most used room in their home


In & out of the pool… more pool toys than you can poke a stick at. Break for a quick bite to eat, then they repeat over & over again until the sun goes down.For our clients Emily & Andy, they had the pool, but… to get into the water meant going out the front door (heading in the wrong direction) & walking down the side of the house.
You could see the pool but it felt almost just too far away. It was just too much effort. It almost seemed easier to load the car & head to the beach.And as a result, the pool wasn’t being used. Even the timber deck surrounding the pool had decided to throw the towel in & was rotting away.
Andy & Emily knew they had an opportunity here, but just didn’t know where or how to start the process.
They had the picture in their mind of what they wanted, but needed help in how to get there. So they headed off in an attempt to bring all of the strings together.
Andy; Thornleigh
Numerous hours were spent trawling through the web, looking at who can do what. “But what do we actually need?”
They met with a draftsman & plans were drawn – that would be it surely.
Then the draftsman threw in the quick line about “You’ll need to sort out the bushfire report”.
The what? Who does that? What does that mean? Who does what? In what order? When? Who speaks to who? Who does what first?
In most cases, we would have over a dozen different people/companies involved on the one job.
- Draftsman
- Town Planner
- Certifier
- Engineer
- Concretor
- Painter
- Electrician
- Tiler
- Plaster
- Plumber
- Steel fabricator
- And the list goes on
There is a sequence that these people need to work in & in some cases even their own language.
Language? I’m not talking Spanish; I’m talking “lingo” or even technical terminology of how professionals talk to each other. Think of how Doctors/specialists communicate to each other – you almost need a translator with you.
“If we can get the LVL to connect to the flange via the M12”. Translatered: Connect that bit of timber to that bit of steel via that bolt.
Easy, now do that across 12 different trades & professionals over a six month period.
Essentially there is a receipe to work through to achieve the desired result even when building your Alfresco Outdoor Room.
You’ve taken the leap, discussed it & agreed to find that local draftsman you saw up the road who said that he can “knock you up some plans” for that new deck of yours.
Easy! Done and now the ball is rolling. You feel good. You can almost picture yourself out there right now. The drinks are cold, the faint aroma of the BBQ from your outdoor kitchen whafts over.
He makes mention that the bush reserve behind your back fence could be an issue, so you might want to look into that. But in the meantime he can start to draw up something.
The fingers start typing away.
Bushfire Zone
Deck in bush
It just comes back with so much jargon that you start looking for the Panadol.
Bingo! Bushfire consultant. Done – booked & paid for. That will do the trick.
We'll be with you every step of the way

But that payment was just for the site visit. They can’t give you an assessment until they see the plans, so you call back the draftsman who then advises that he can’t finish the plans until he knows the BAL.
The what? Bushfire Attack Level.
The first draft of the plans have arrived from the draftsman.
The deck was smaller than you thought you discussed & the stairs are in the wrong position.
Meanwhile, your friend’s cousin who you met last week at your Sisters engagement party & said he was a builder, just called & said he could pop around this afternoon sometime on his way home “may be around 3pm?”
Maybe?
3pm?
But that’s when I’ve got school pick up & then the kids piano lessons.
- Why are the boards running this way?
- You can’t put a pier here, why has he done that?
- Why haven’t you put a roof on it?
- What material were you thinking of using there?
- Why don’t you knock that wall out & put a door in there?
- I can’t do that there? And on and on, and on it seems to go.
Where’s that Panadol?
Let’s skip a few chapters forward….
Two designs and a builder later they have ended up with the Development Consent. (This is the document from council that gives you the big tick)
However, they essentially don’t believe it’s what they want. They still seem to have more questions than answers.
Enter stage left – this is the bit where we walked into the picture.
We took them back a few steps with a few simple questions.
What did THEY want? Emily told us that “They want this space to be the heart of their home”
What was really important to them to include in the area?
Essentially, these are the four areas that we worked through together:
- Design:
Are they looking to build the Opera House in their backyard? - Construction:
Is it possible to build the Opera House in their backyard? - Approval:
Can we get the council to approve the Opera House in their backyard? - Budget:
The Opera House wasn’t cheap to build. Does their budget match the reality?
If not – what do we need to change to bring it to life?
If we get a cross against any one of these four, we need to address it. Do they really need the Opera House or were they thinking this as this is all they really know of?
What if we changed the design? Often I use the phrase….
“Sometimes simpler can be better”
This could then mean an easier approval & construction process, which in turn will naturally lead to a different budget.
Bingo! Winner, winner chicken dinner
How we achieved ‘the flow’ for Andy & Emily…
Andy & Emily came to us with some plans already prepared.
We still took them through our process as they got themselves to a point, but were stuck & weren’t moving forward. Something just wasn’t right with where they were at.
We repositioned the stairs out to the side of the home & actually right on the side boundary. (to read further about stealing some more space for your alfresco & building to your boundary CLICK HERE)
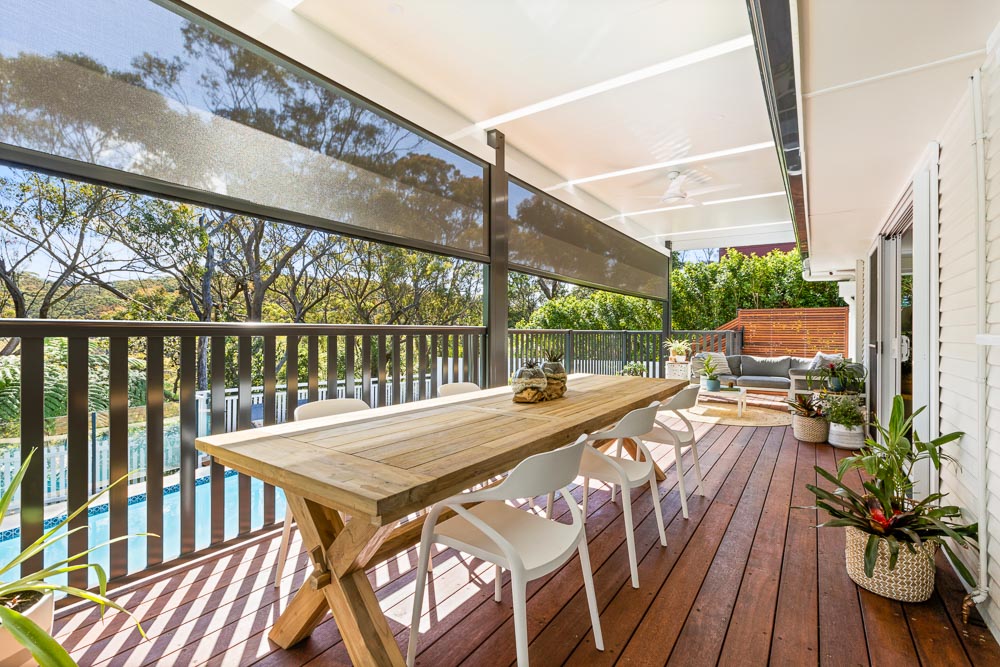
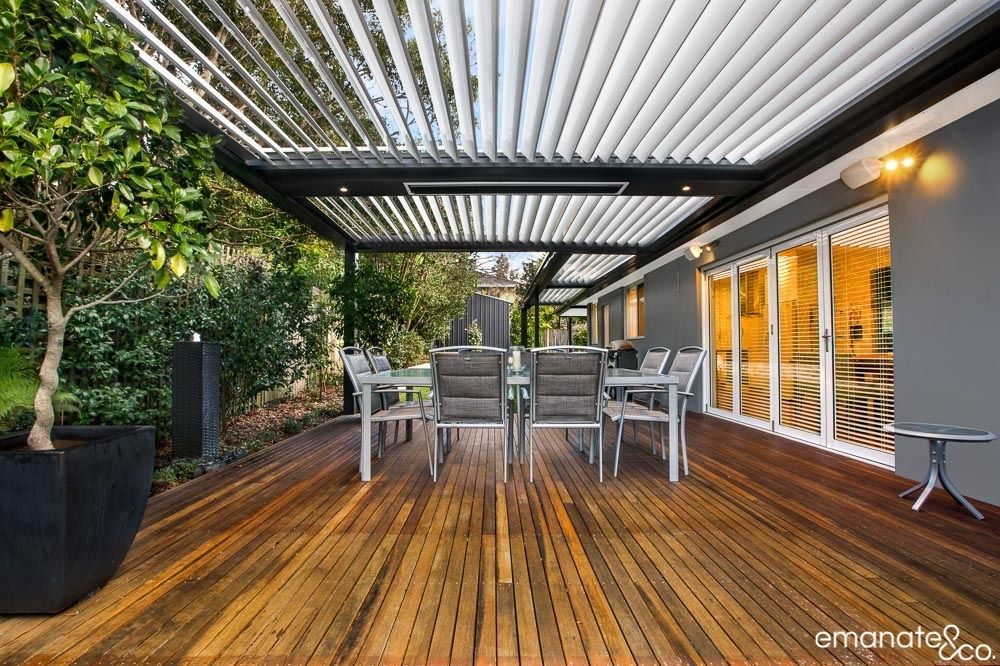
By doing this, we opened up their main real estate space on the deck which enabled them to include their main entertaining table, but also another separate less formal space with a coffee table & corner lounge.
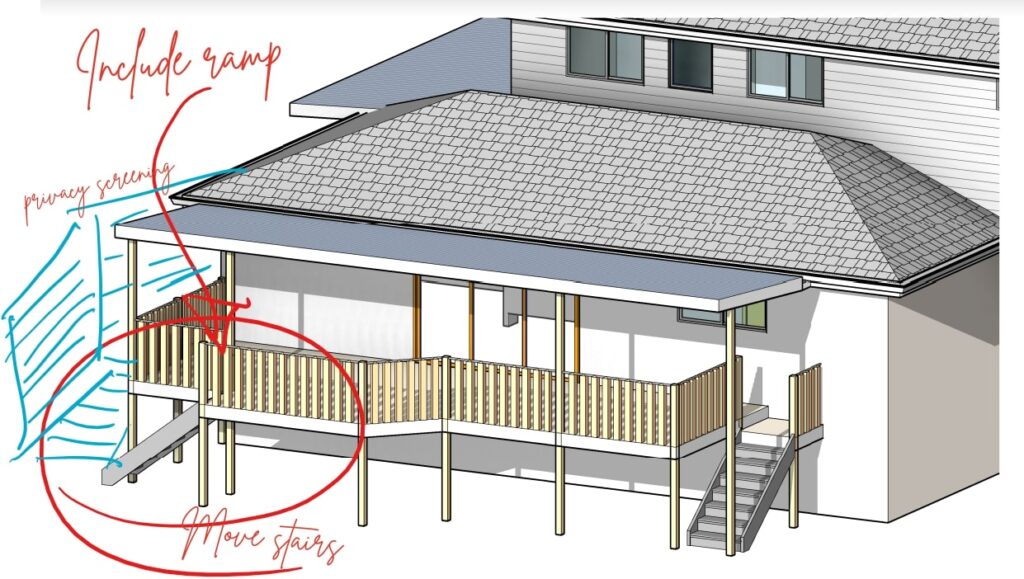
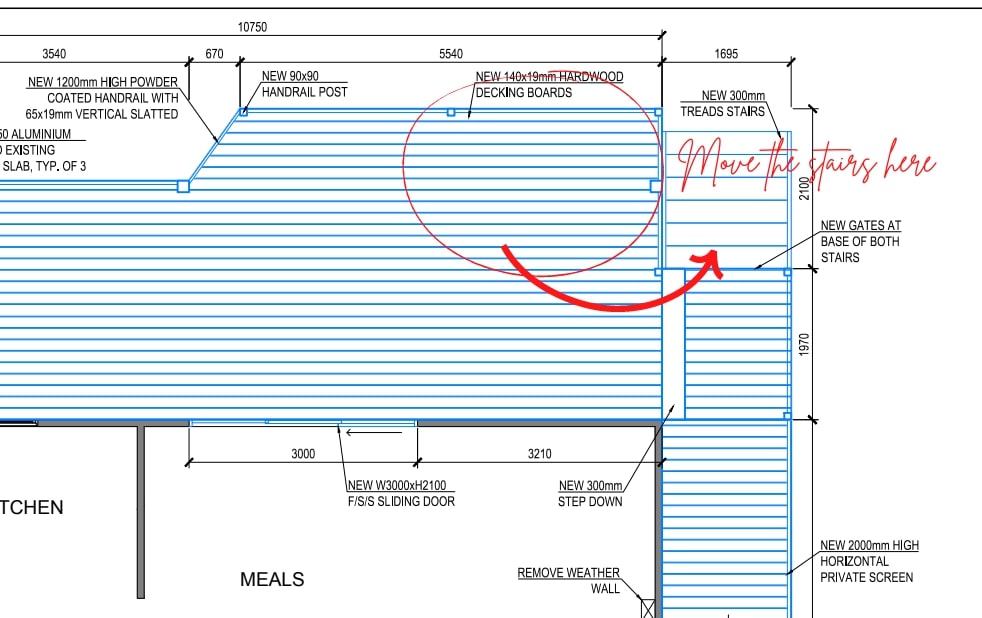
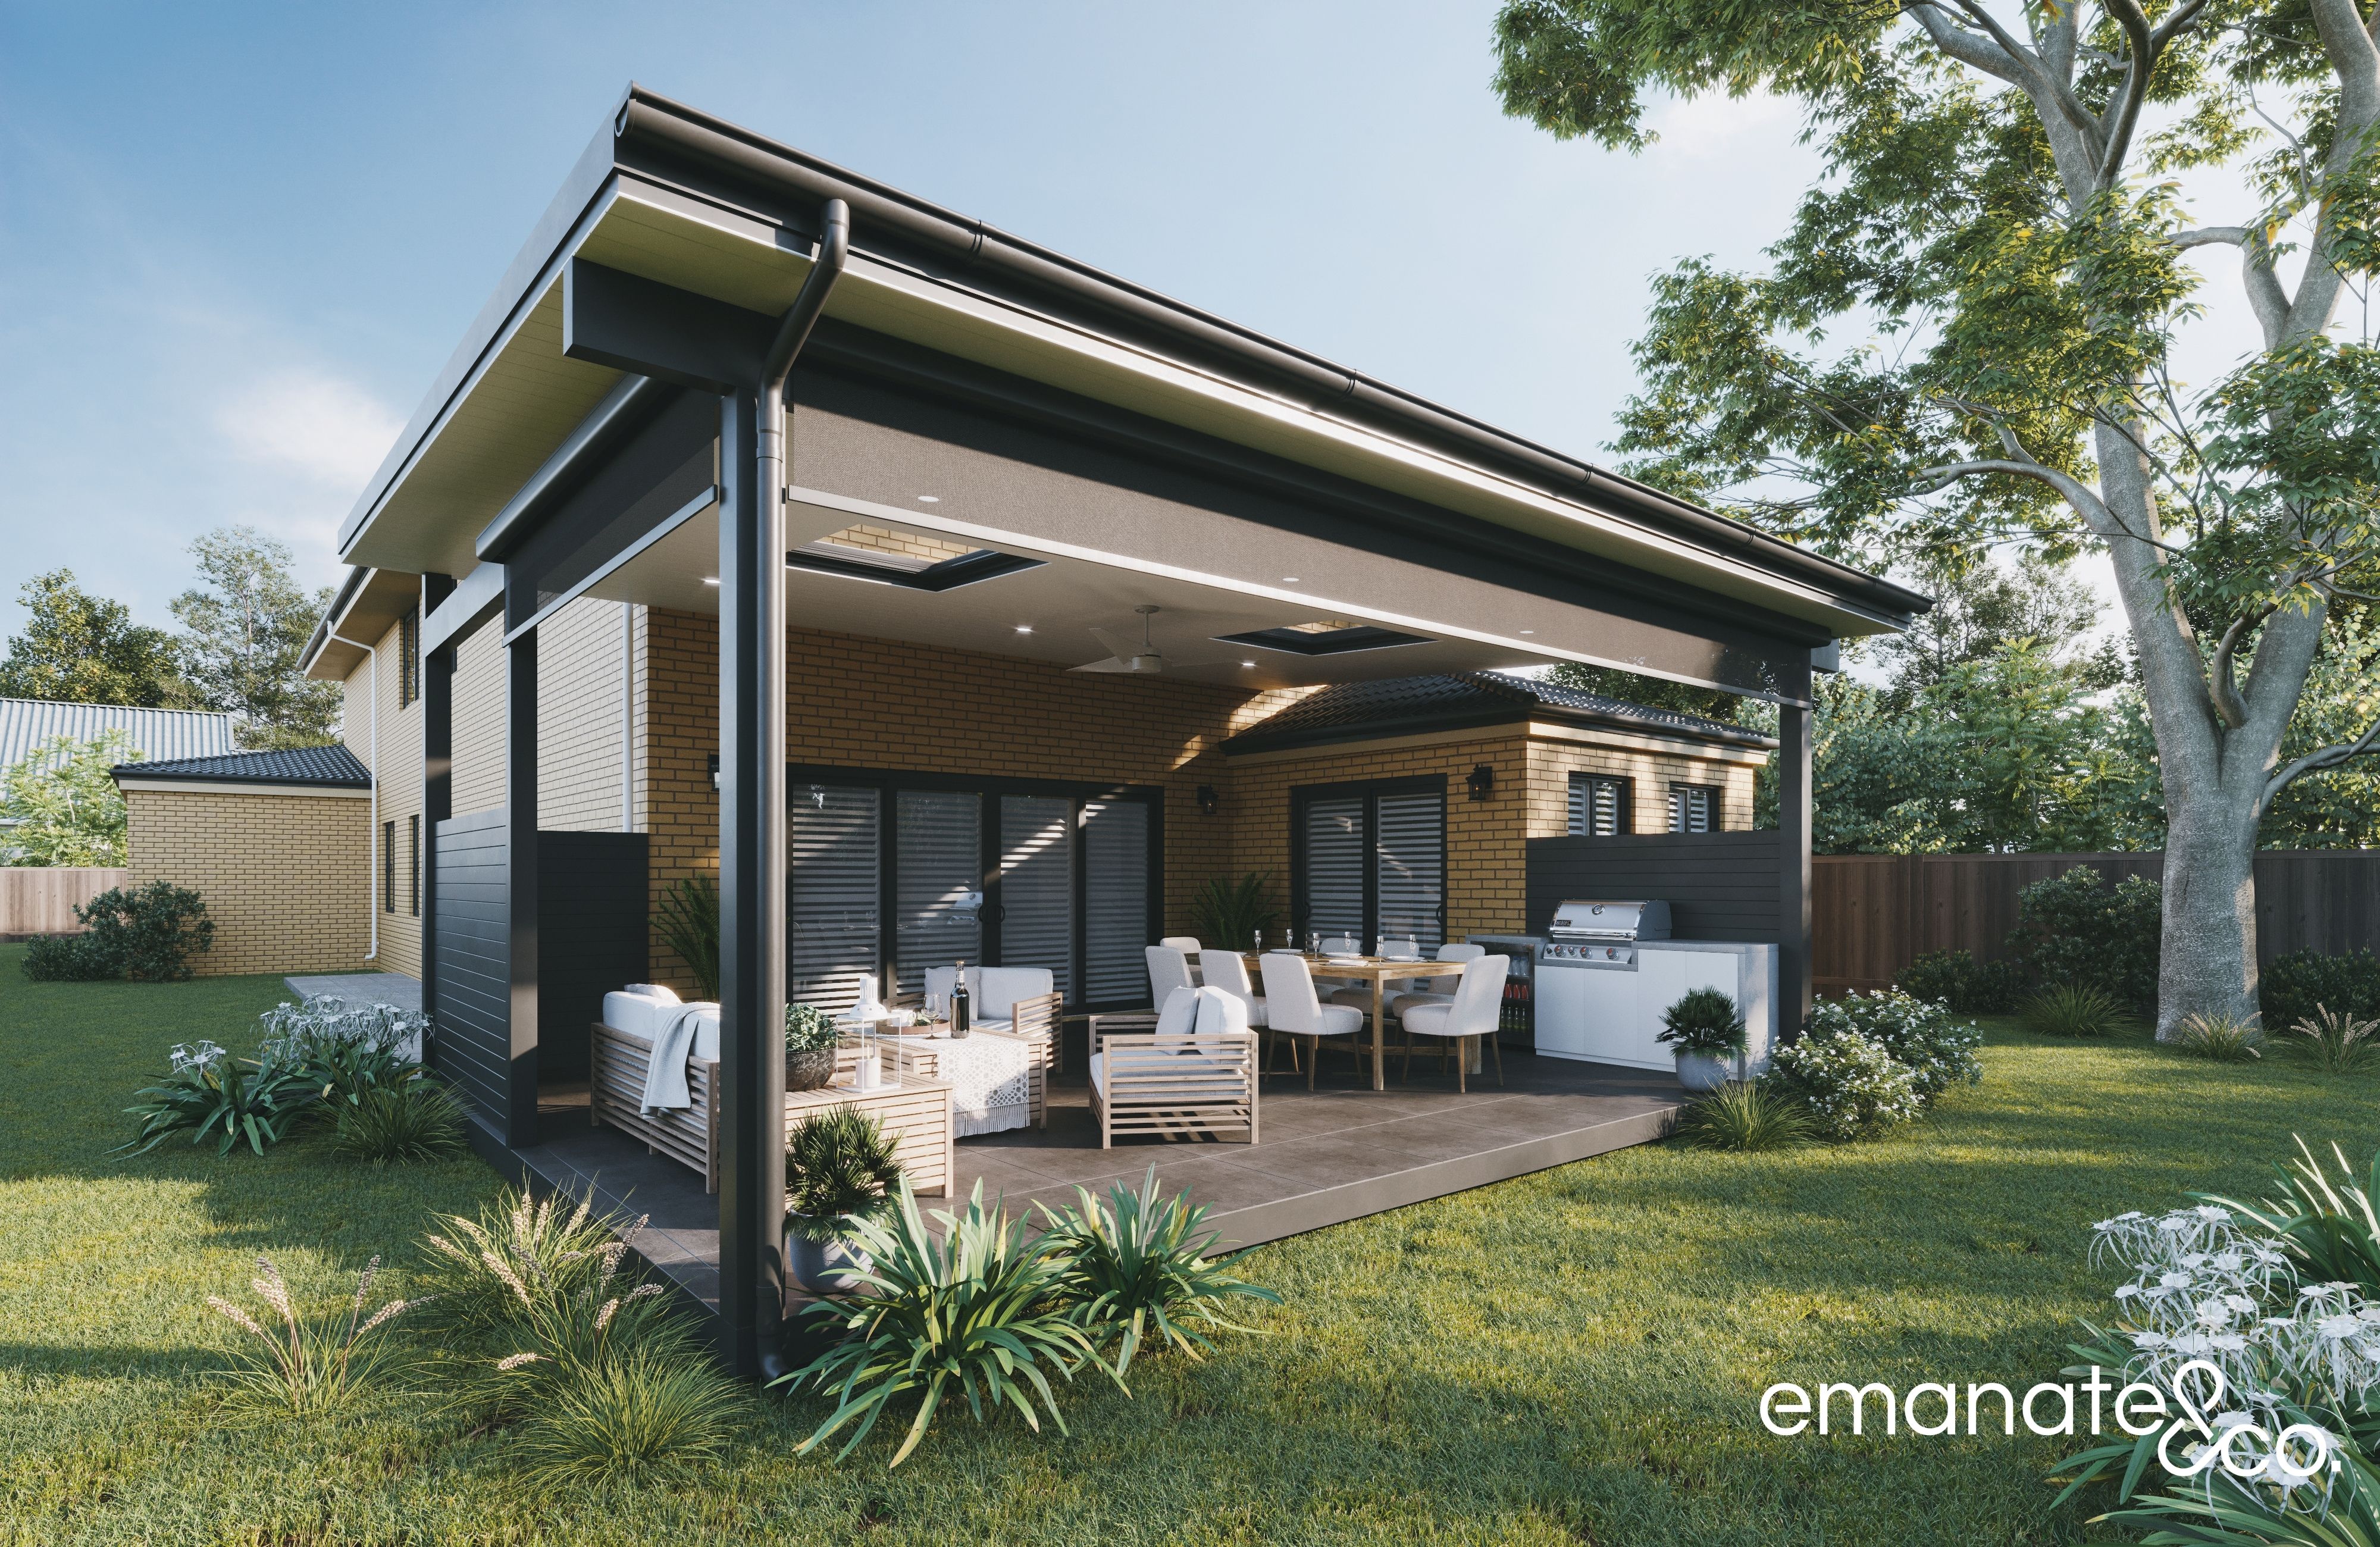
The 3d Render
I turned over the render drawing of their new alfresco outdoor living area…(I always hold my breath at this point.)
There’s always a short moment of silence….
(I’m a little anxious right about now as it’s a real moment of truth)
But it’s only for literally a split second & then…
SCREAM!!!! Followed by “Yes, Yes Yes!”
(*Disclaimer/Note: For those of you who have your mind in the gutter – no it wasn’t anything raunchy.)
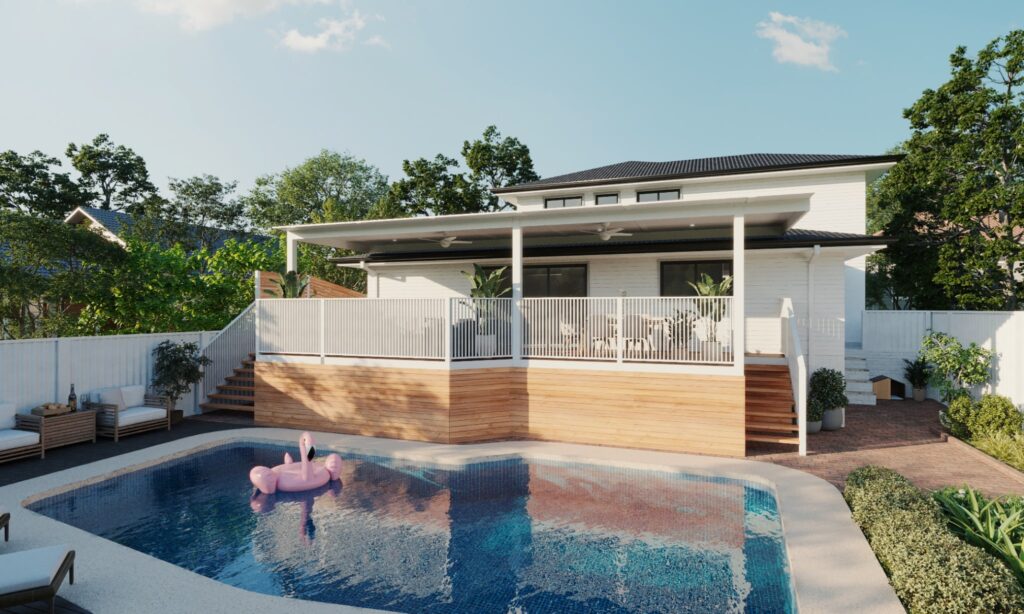
They had seen the image in her mind be brought to life right in front of her on the desk. It almost looked like it was a photograph.
It went straight home onto the top spot on the fridge, so everybody could see it.
Are these the questions that the little voice is asking you in your head?
“What will the final result look like?”
“What if it doesn’t look like the picture I have in my head?”
“Will the colours work?”
“I hope it won’t look cheap & nasty?”
What if you stuff it up,ahhhhhhhh!! It’s almost too hard.
Or is it…?
So, to help give our clients clarity & confidence, we include this 3D render as part of our proposal presentation which means that no stone is left unturned & you can enjoy the process moving forward.
Project Specifications:
Approval Process:
- BAL Assessment
- Drafting of plans
- Engineering
- Town Planning
- Site Survey
- Local Council Development Application via NSW Planning Portal
- Sydney Water approval
- Construction Certificate by Principal Certifying Authority
Patio Cover:
- Fly Over combined with skillion design, falling back over the existing house roof
- Aluminium framing
- 150 x 150mm powder coated aluminium posts
- ‘Shademaster’ 55mm insulated roofing sheets combined with 115mm wide ‘nature lites’
Electrical:
-
2 x Ceiling Fans with remote “Lucci” Airfusion Airmover 142cm Ceiling Fan Available from ‘Beacon Lighting’
- Series of 90mm LED downlights
Deck:
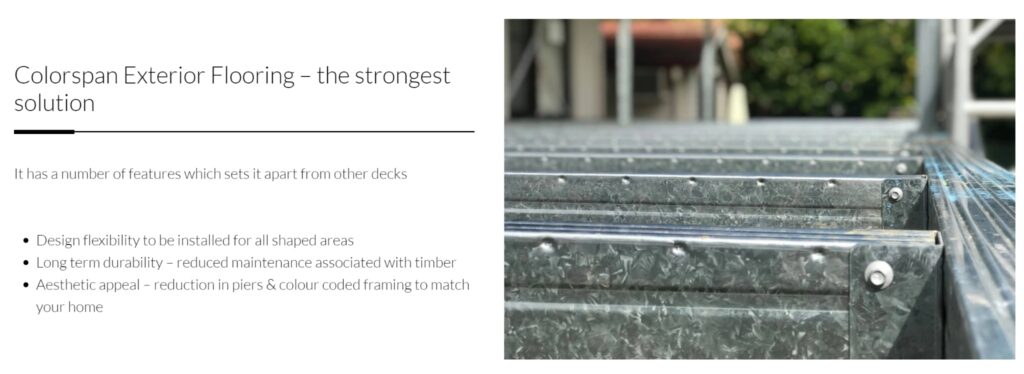
- Steel deck framing as required
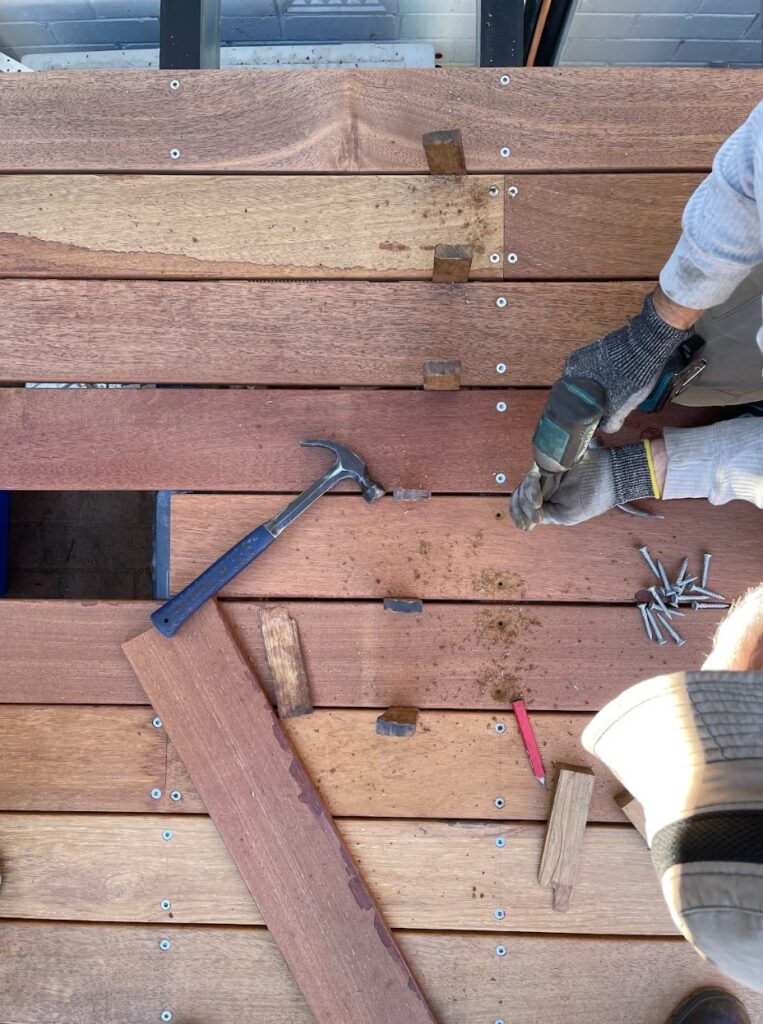
- 140mm wide ‘Merbau’ hardwood decking boards - screw fixed down
-
Oiled with ‘Feast Watson’ decking oil
Other “Bits & Pieces”...
- Motorised outdoor blinds with remote control operation
- Side boundary privacy screening 42 x 19mm hardwood timber battens fixed over aluminium framing
- Dressed hardwood timber steps
- Custom fabricated aluminium balustrade with vertical 65mm uprights
- Timber pool deck refurbishment
- Front covered alfresco space with insulated roofing sheets to match the rear
Project Cost:
Total project value $210,000 (GST Incl.) Plus local authority/council fees.
Note: As all of our work is individually tailored & designed, use this example as a rough guide only.
